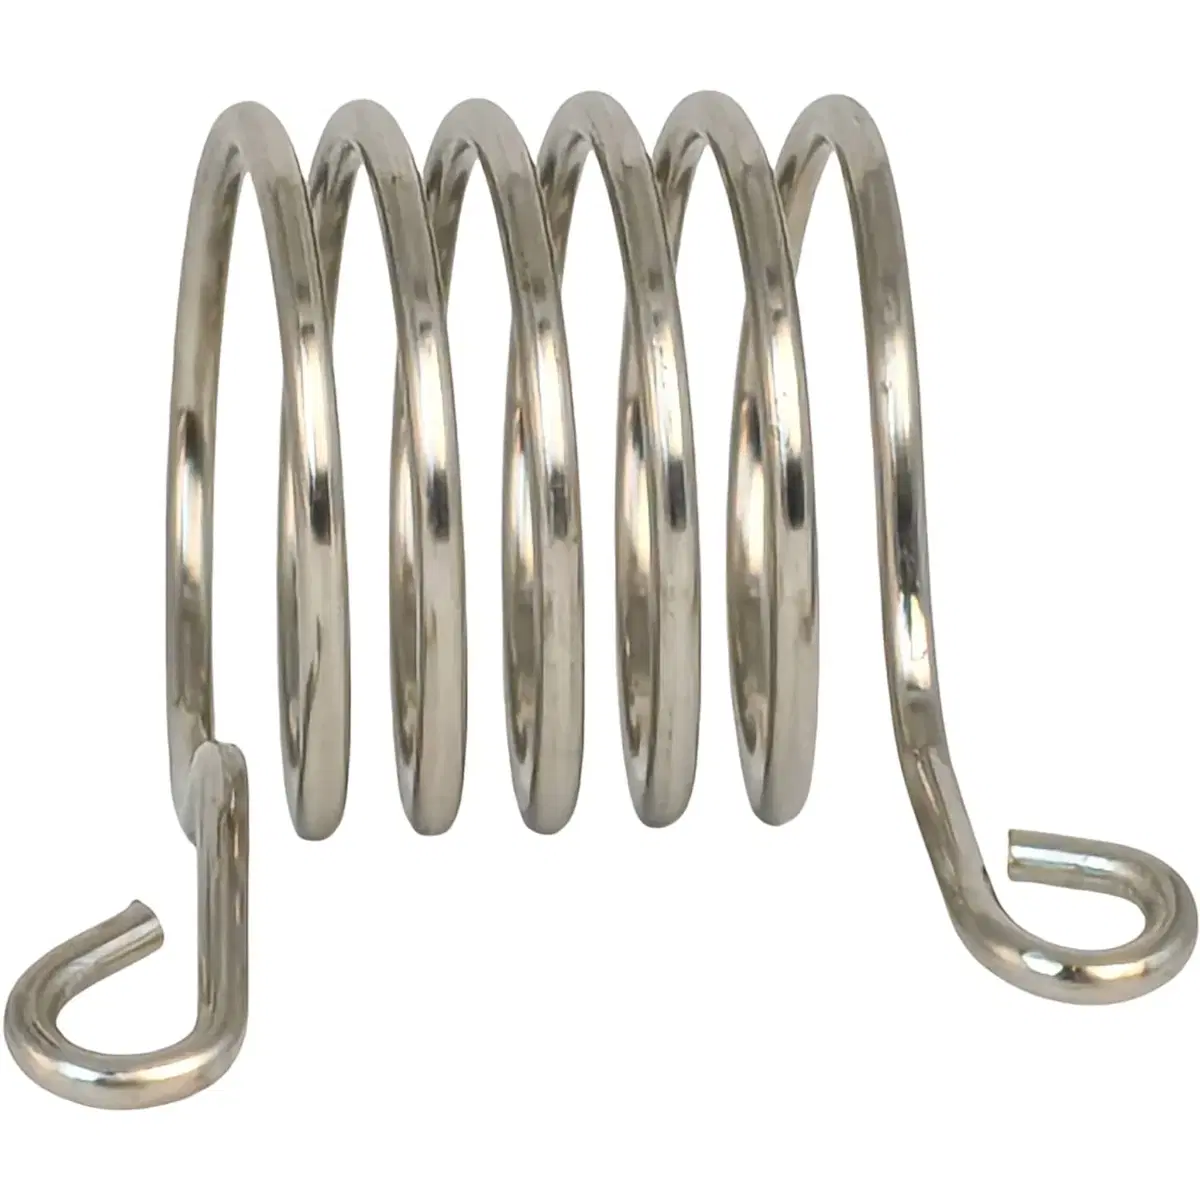
This 1010216 second speed resistor with 7 gauge wire is a direct replacement part for Club Car DS golf carts from 1976-1988, restoring proper speed control during the second speed step. It is built for Club Car electric golf carts and mirrors the original OEM component.
This 1010216 second speed resistor is a key component in the resistive speed control system of Club Car DS golf carts. It regulates electrical current during the second speed stage, ensuring smooth acceleration and consistent low-speed handling. This replacement resistor is specifically designed for Club Car models manufactured between 1976 and 1988.
| Part Number(s) | 1010216 |
| Wire Gauge | 7 Gauge |
| Compatibility | Club Car DS 1976-1988 |
Q: Is this resistor a direct fit for a 1985 Club Car DS? A: Yes, this second speed resistor is designed to fit Club Car DS electric carts from 1976 through 1988, so it will mount in the original resistor bank without modification.
Q: Can I install this myself? A: Installation involves disconnecting the battery, removing the old resistor from the bracket, and bolting this unit in place. Basic hand tools and care with electrical connections are sufficient for most owners.
Slight variation in finish or dimensions may occur between production runs, and fit can depend on serial number, so confirm compatibility before ordering.